In the fall of 2021 I had the opportunity to carve pumpkins for the Jack-O-Lantern Spectacular at the Minnesota Zoo. The show is created by Passion for Pumpkins, a Massachusetts based company that runs Jack-O-Lantern shows at a few locations across the United States. It runs for the entire month of October, generally thru the weekend after Halloween, but designing the first rounds of pumpkins for the trail starts in early September — there’s a lot to do!
The on-site studio hosts multiple artists that come and go as their availability allows throughout September and October. Most of September is spent drawing designs on the first couple rounds of pumpkins. A week or so before the show opens, the first round of pumpkins is carved. Right before they hit the trail, the pumpkins are gutted (thankfully the artists don’t have to do that part!).
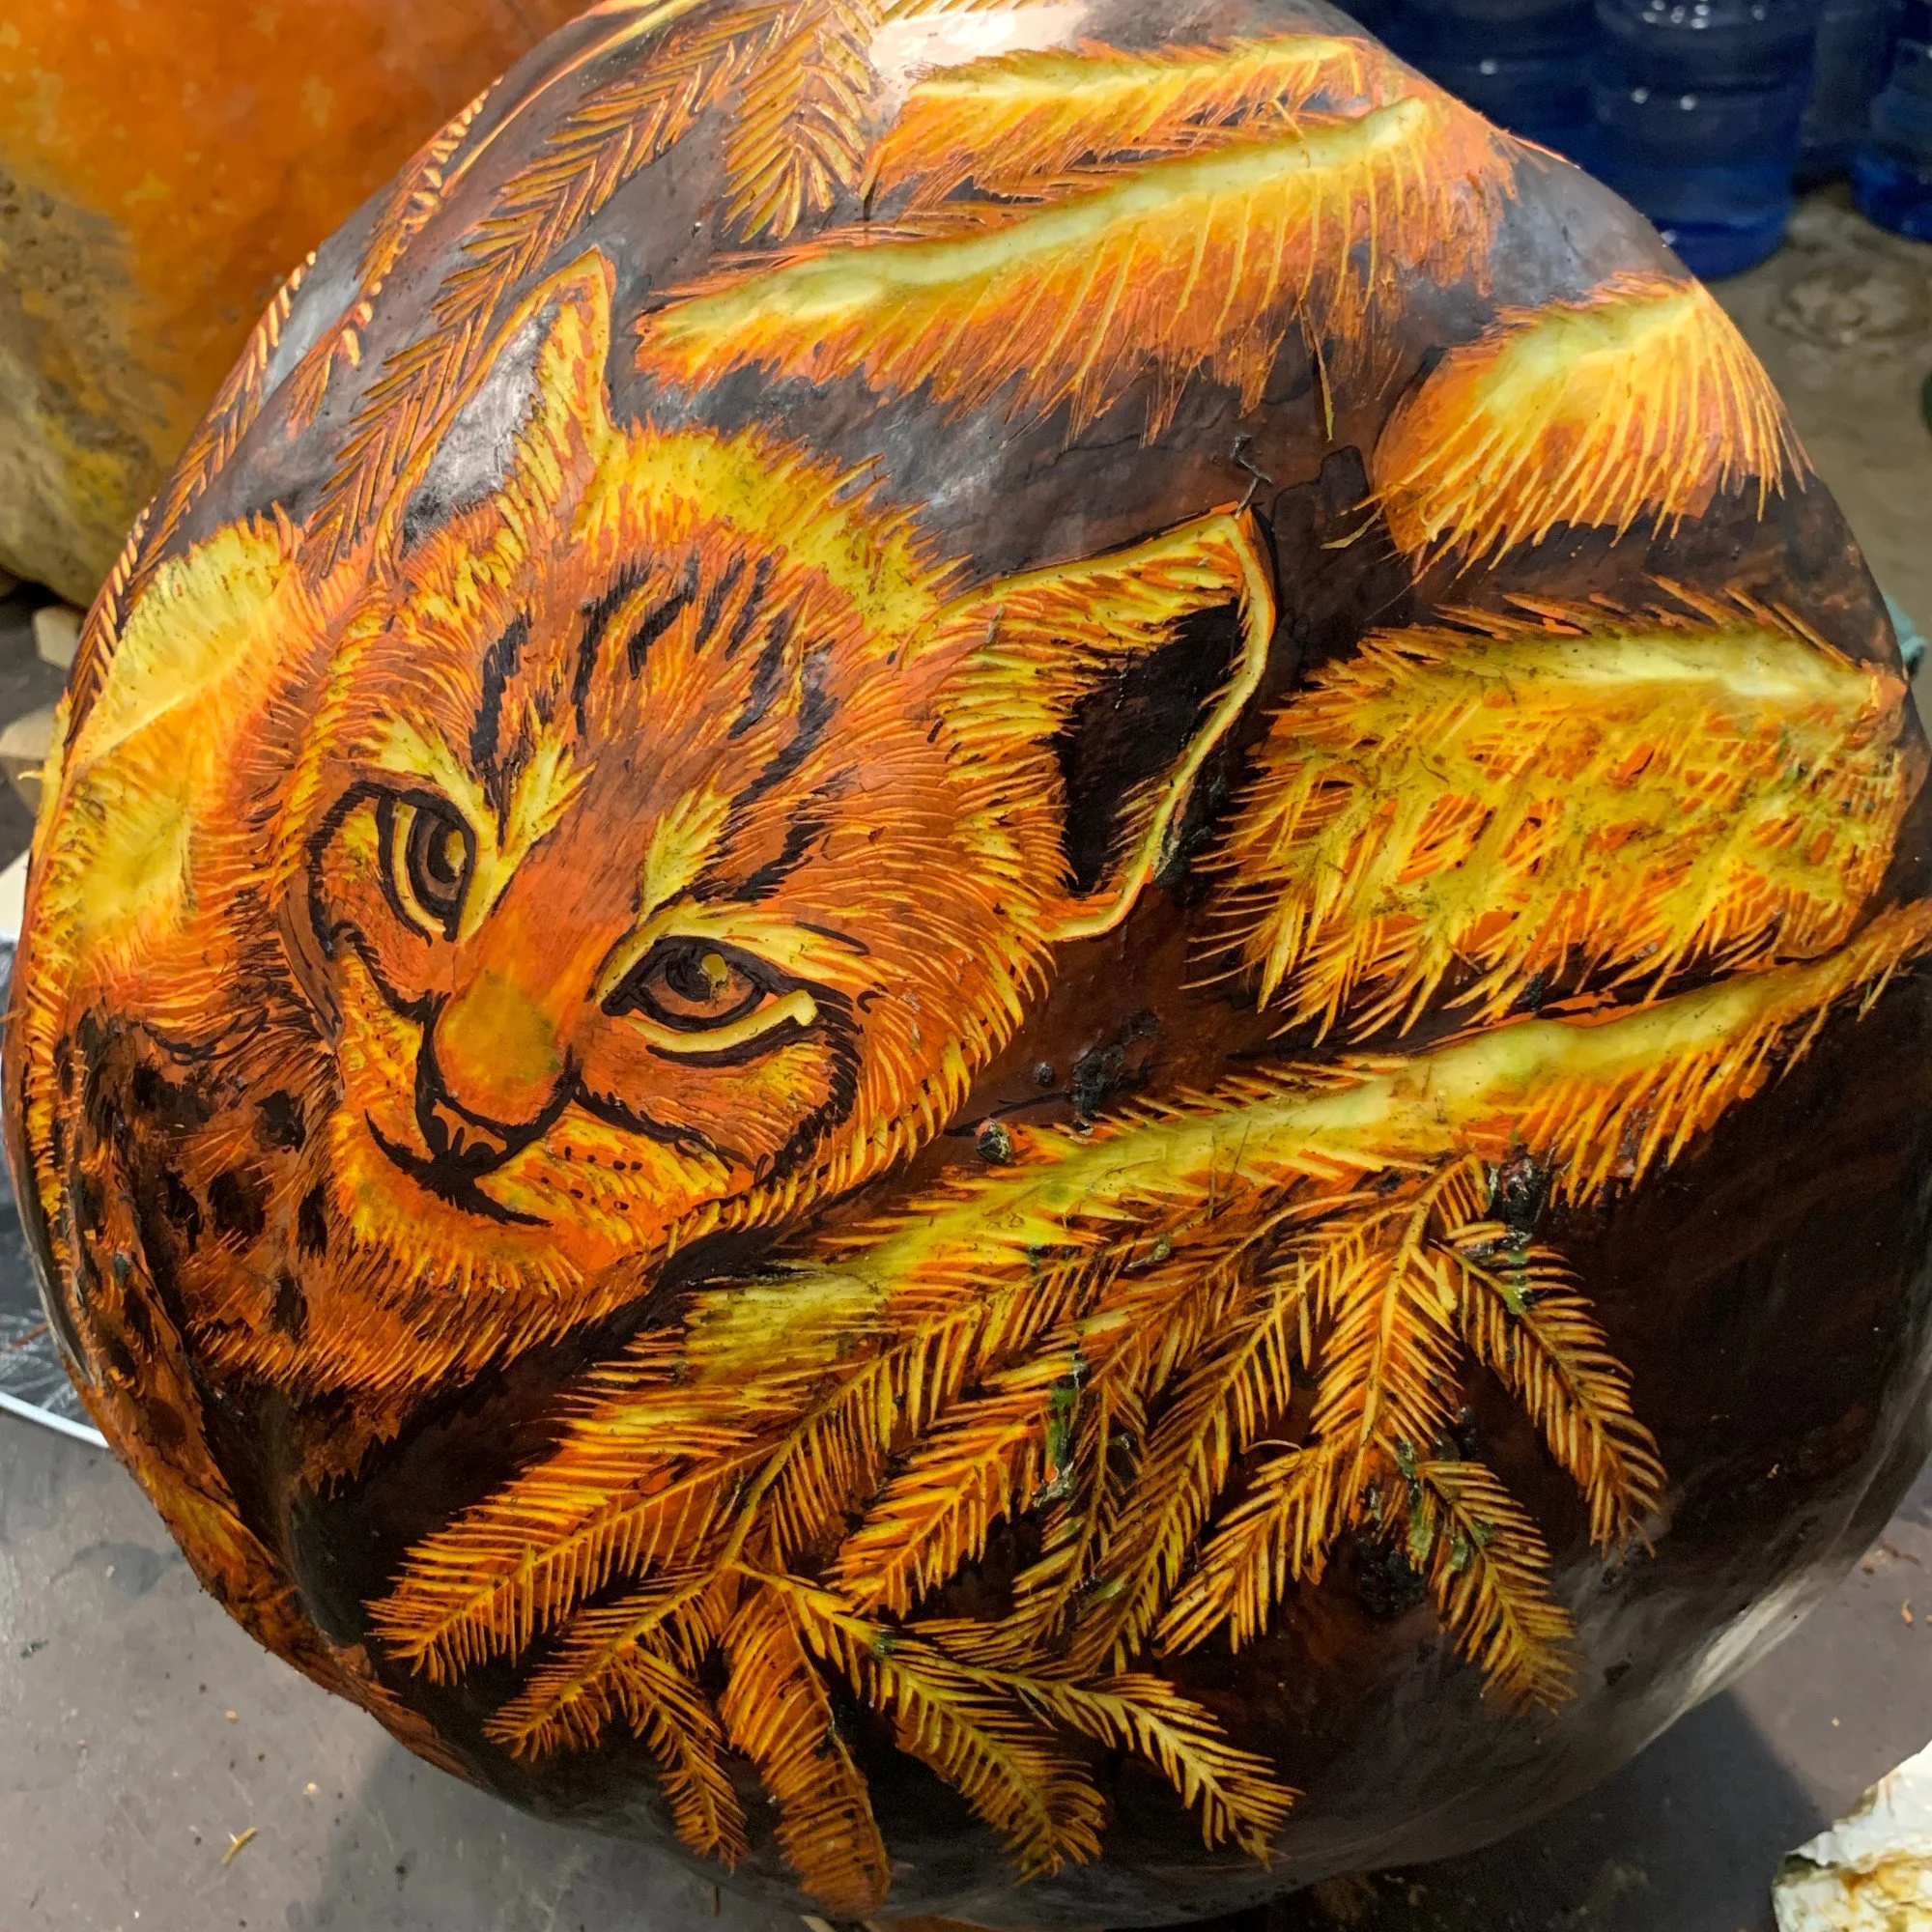
Due to the transient nature of Jack-O-Lanterns, it’s common for 4-5 rounds of pumpkins to be cycled through the trail throughout the course of the show. Cool, dry weather is great for pumpkins — warm, wet weather? Not so much. Pumpkins will darken with rot and eventually collapse. This keeps the studio busy till close to the end of the show.
Let’s talk a bit more about the actual designing and carving process.
There are two main stages: Draw & Carve


Draw
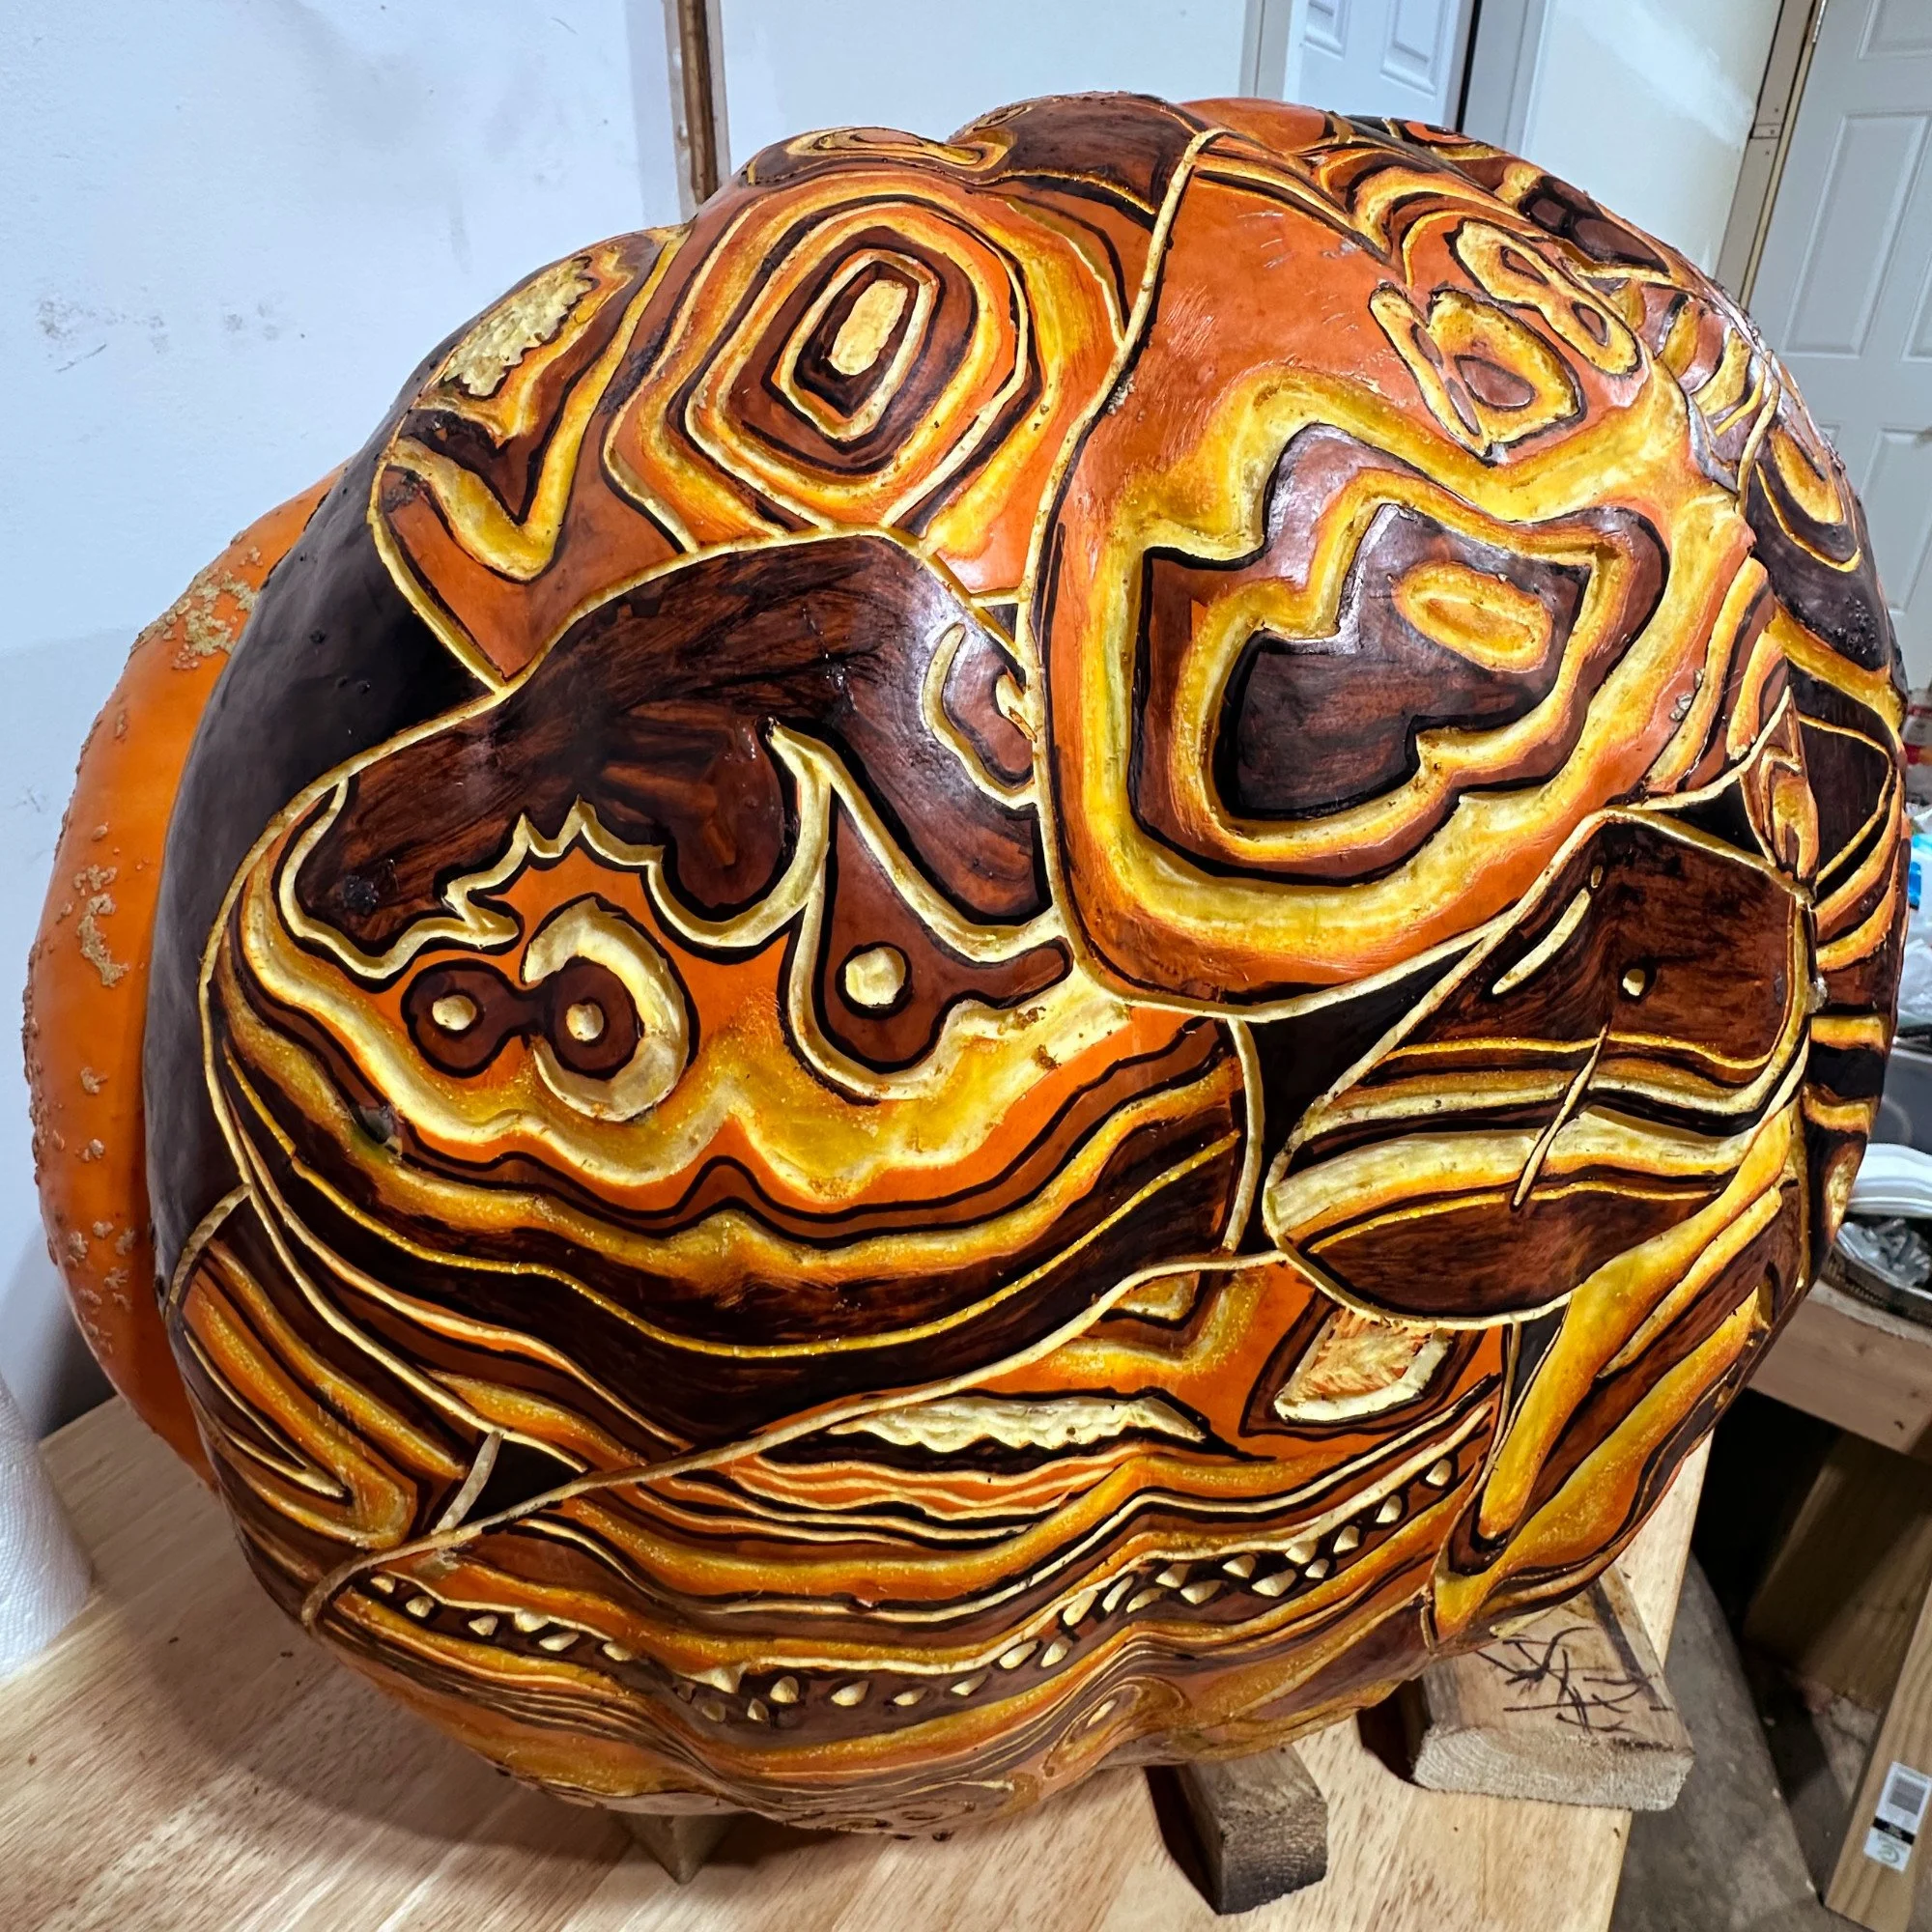
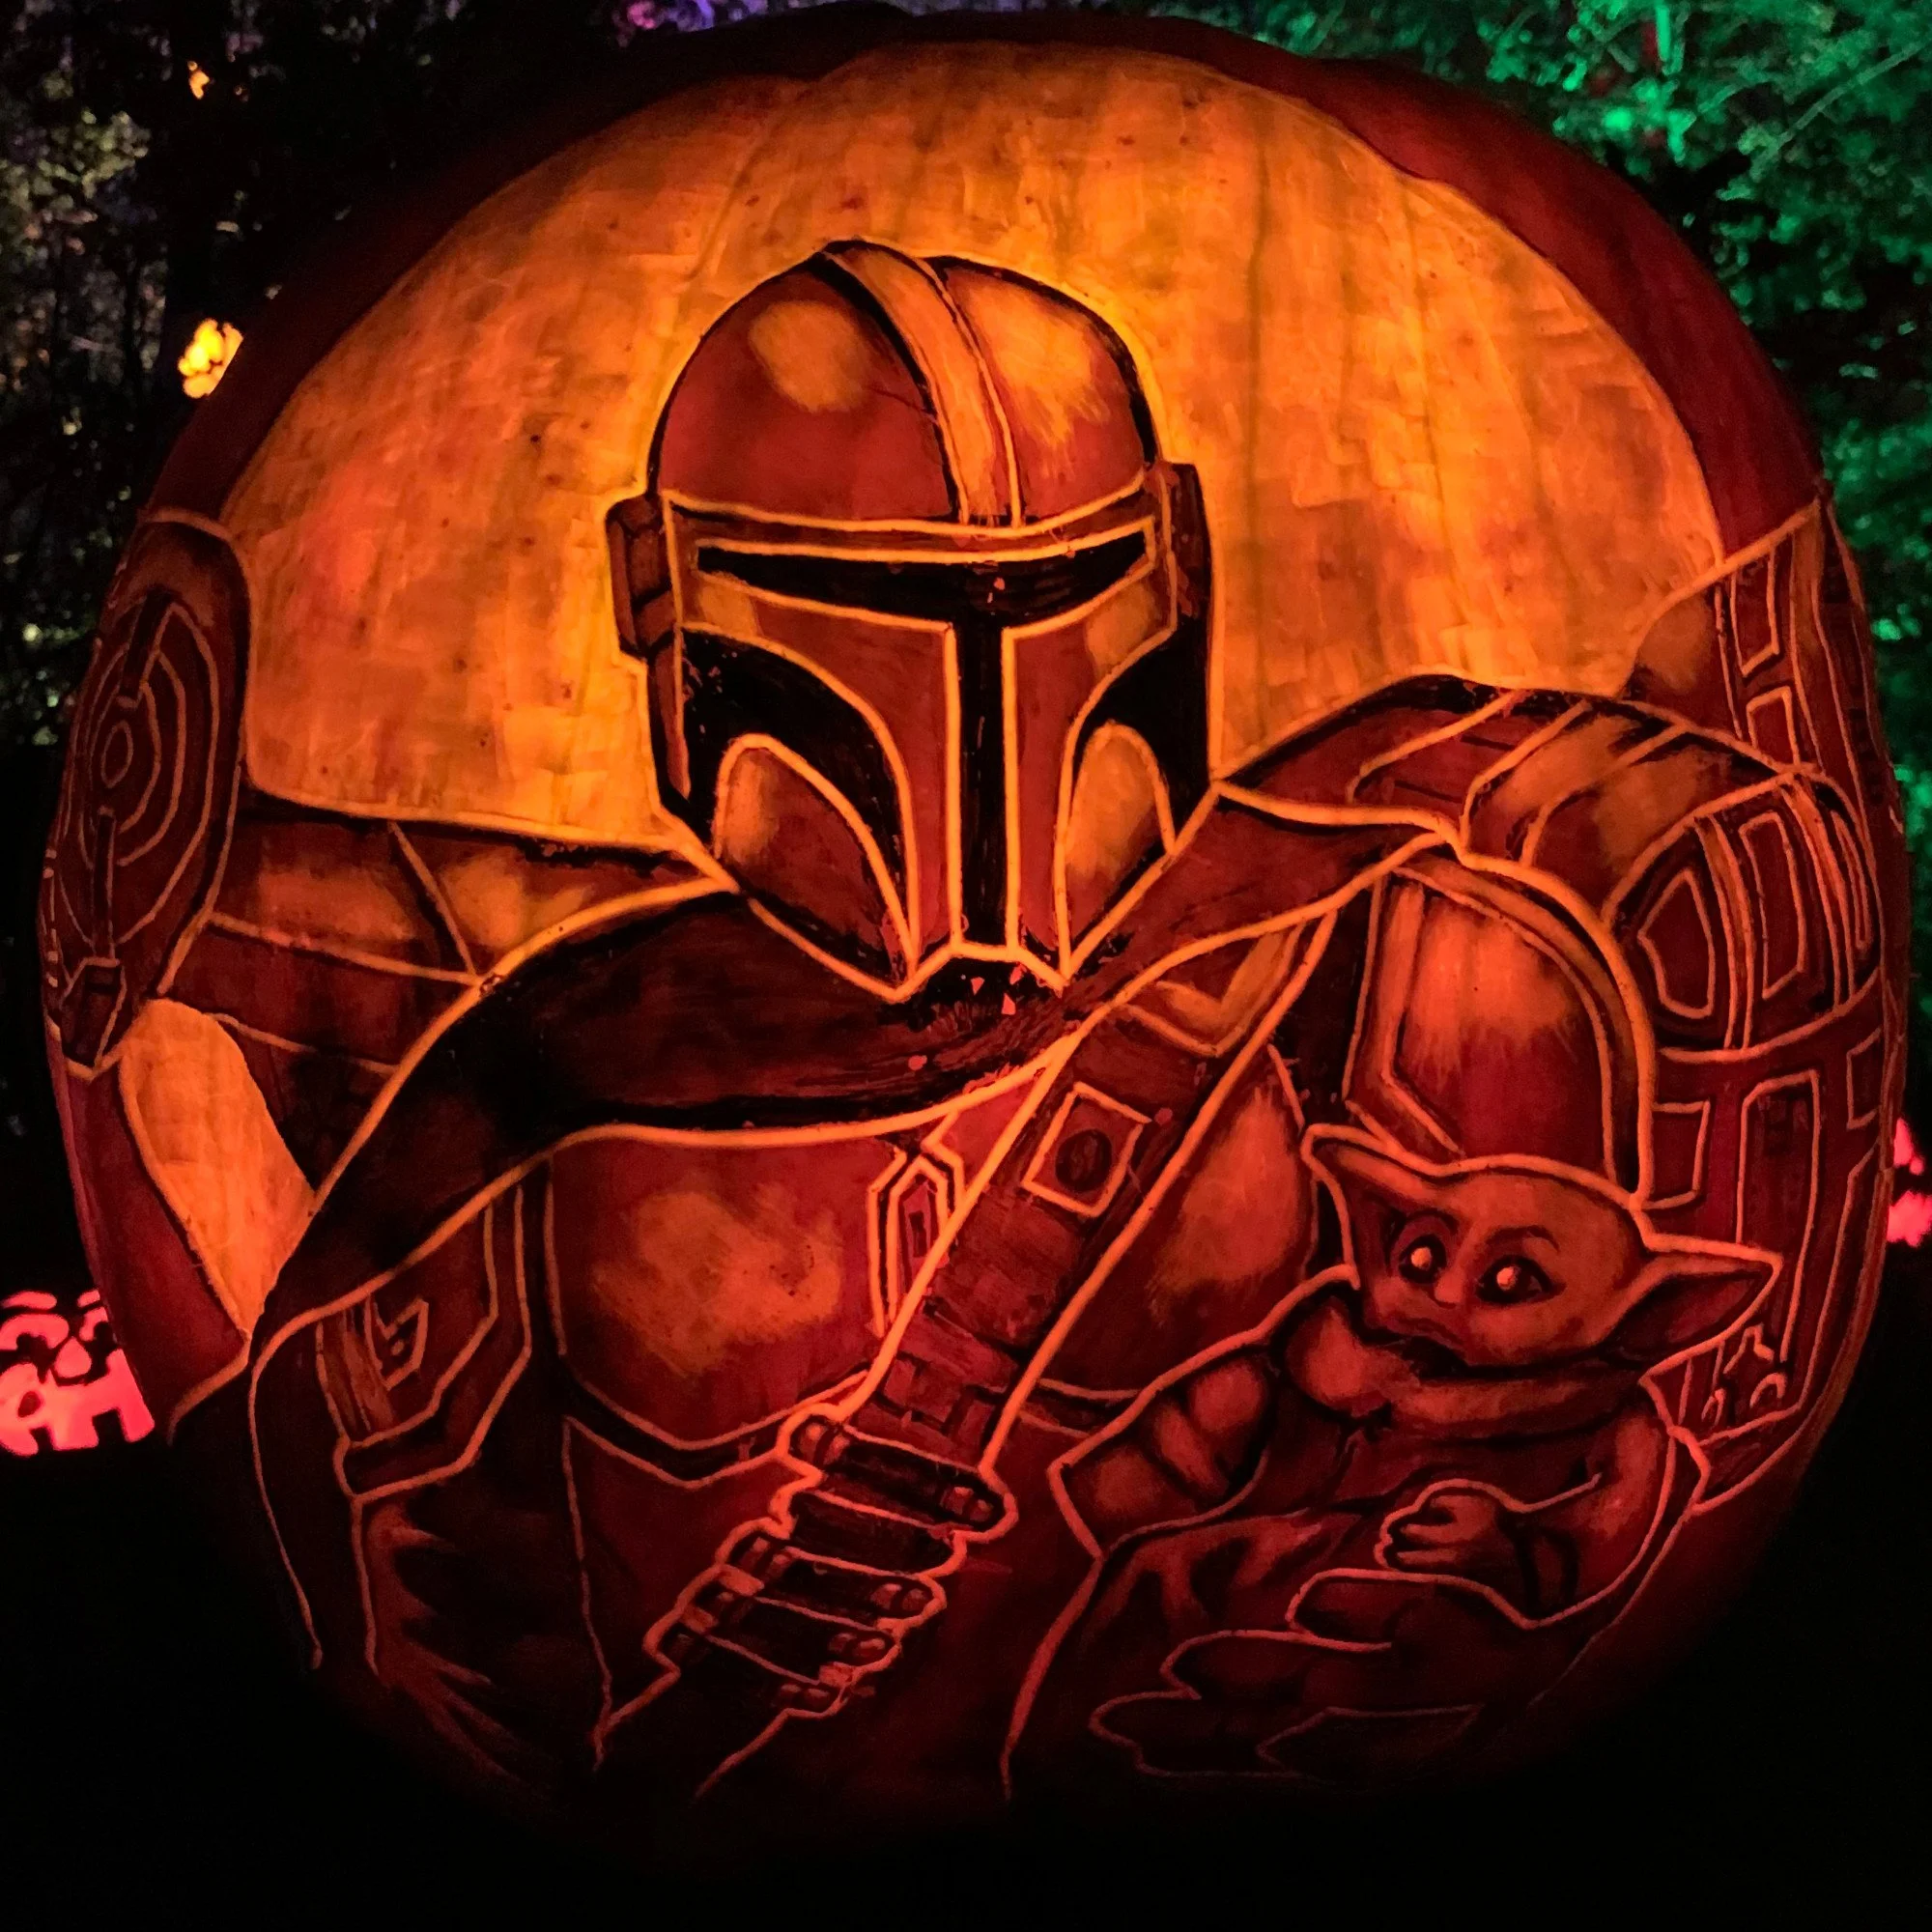
During the Draw stage, an image is selected and printed off for reference. Artists have the option of using the darkroom and projectors in the studio to cast the image onto the pumpkin and trace a portion of the image onto the pumpkin, or to work freehand. Projecting is very useful when proportions are important, such as for portraits of celebrities. The image will warp around the round ‘canvas’ of the pumpkin at the edges, making it challenging to avoid skewing proportions. I tend to spend as little time in the darkroom as possible and use it mostly for ‘landmarks’ and general layout. More often I will freehand my pumpkins. The Draw stage is not usually the prettiest to look at — the goal is to add enough information to the pumpkin so that you know exactly where you need to carve.
The pumpkins need to be washed with water and paper towels, and the rest of the drawing supplies rely heavily on alcohol based ink products.
Alcohol Ink - Painted directly onto pumpkins to create strong contrast
Isopropyl Alcohol - Used to dilute alcohol ink for lighter gray tones, and to erase mistakes
Plastic Cups - Used as ink wells
Cotton Swabs - Used with isopropyl alcohol to erase smaller detail areas
Alcohol Markers - Grays are good for initial sketches and layout, black works well for detail work
Synthetic Brushes, Various - Great for covering large areas and creating organic strokes and textures

Drawing Supplies
Carve
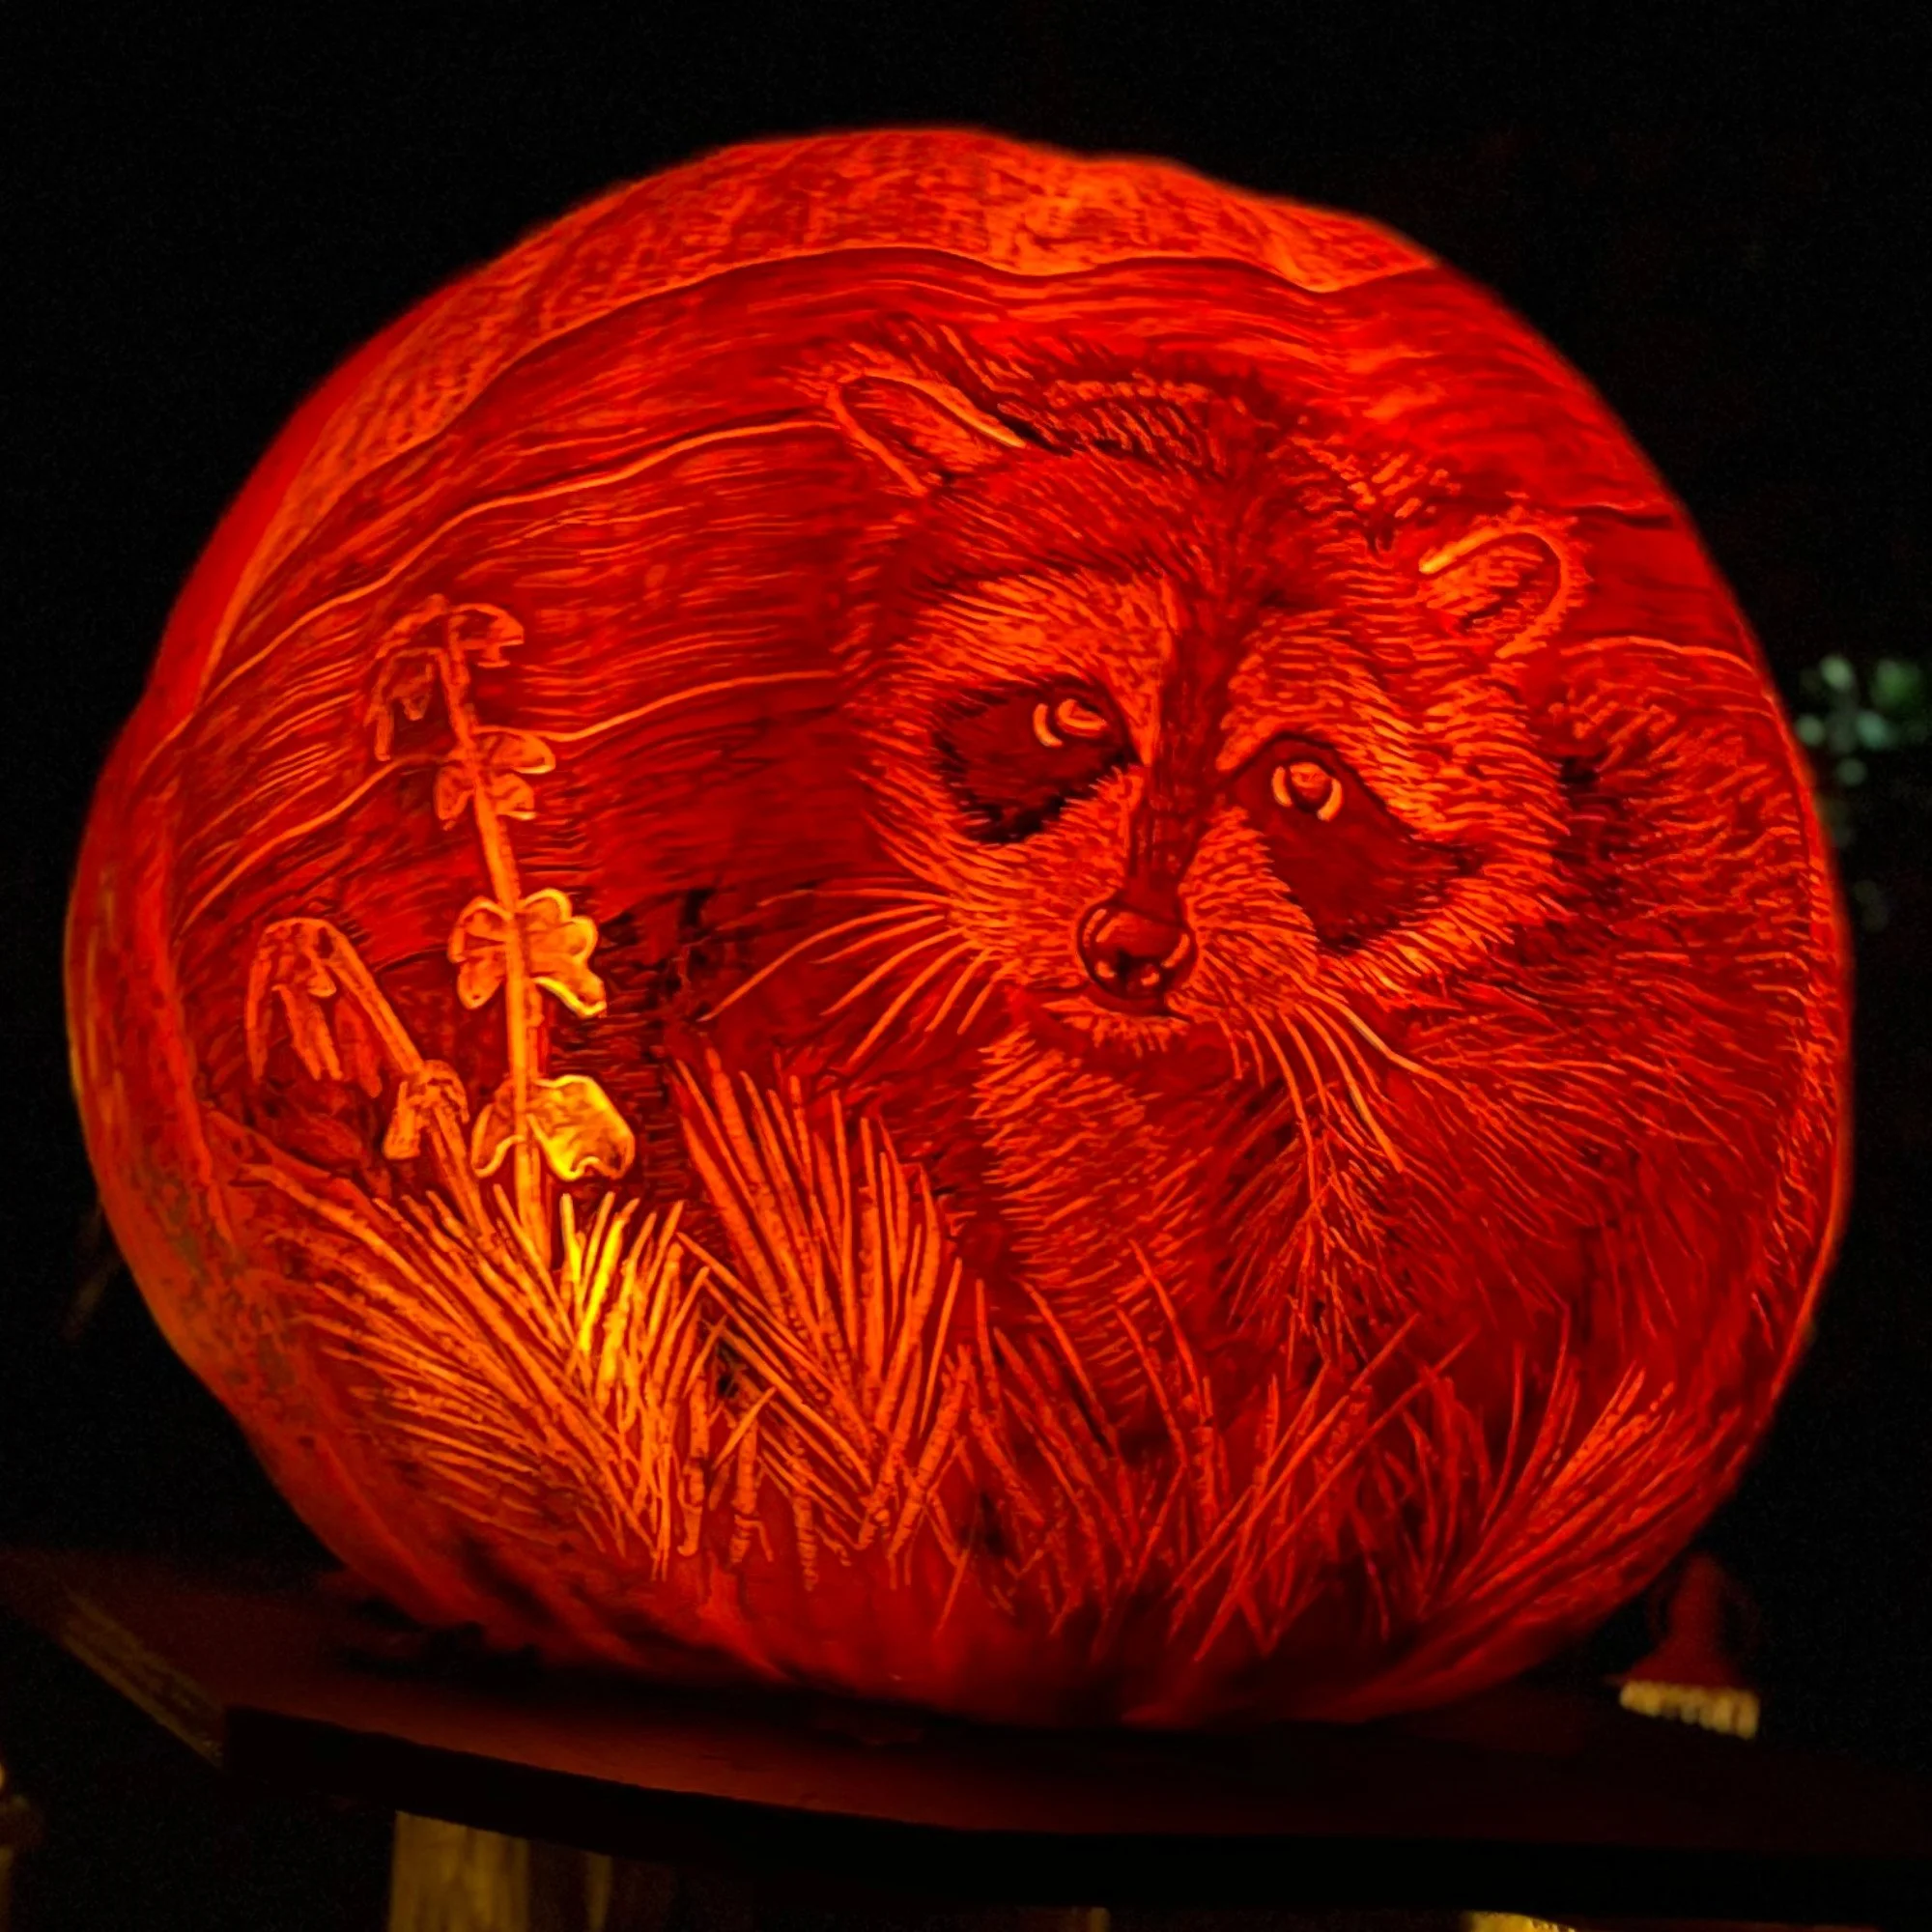
This is when the design really starts to pop! Depending on the stage of the show, carving can take place as long as weeks later than the drawing stage, or as soon as the same day. A variety of carving tools are used for scraping and sculpting the surface. You don’t want to carve too deep into the pumpkin, as this leaves the Jack-O-Lantern more susceptible to rotting quickly. The pumpkins are lit by powerful bulbs, which shine through the pumpkin’s outer rind, so there are really three levels of value you’re working between:
Light - The carved out areas of the design
Medium - The uncarved, uninked areas of the design
Dark - The inked areas of the design
In addition to carving tools, we also use waterproof sandpaper at various grit levels to create smooth gradients between the different brightness levels. I like to cut a small piece and tape it to a carpenter’s pencil to make it easier to complete the sanded areas. I love the warm glowing effect sanding creates!

Carving Supplies
Once the carve is completed, the pumpkin waits to be gutted on the day it is put out on the trail. That’s when the rot-clock really starts ticking. Depending on the weather, a pumpkin might last only a few days, up to a few weeks! It’s a fickle medium to work with, but it’s a whole lot of fun being out in the fresh air, working on a funky, curved canvas, and sharing my art with everyone who attends the show.
Below are links to the Jack-O-Lanterns I have carved throughout the years I have worked on the show: